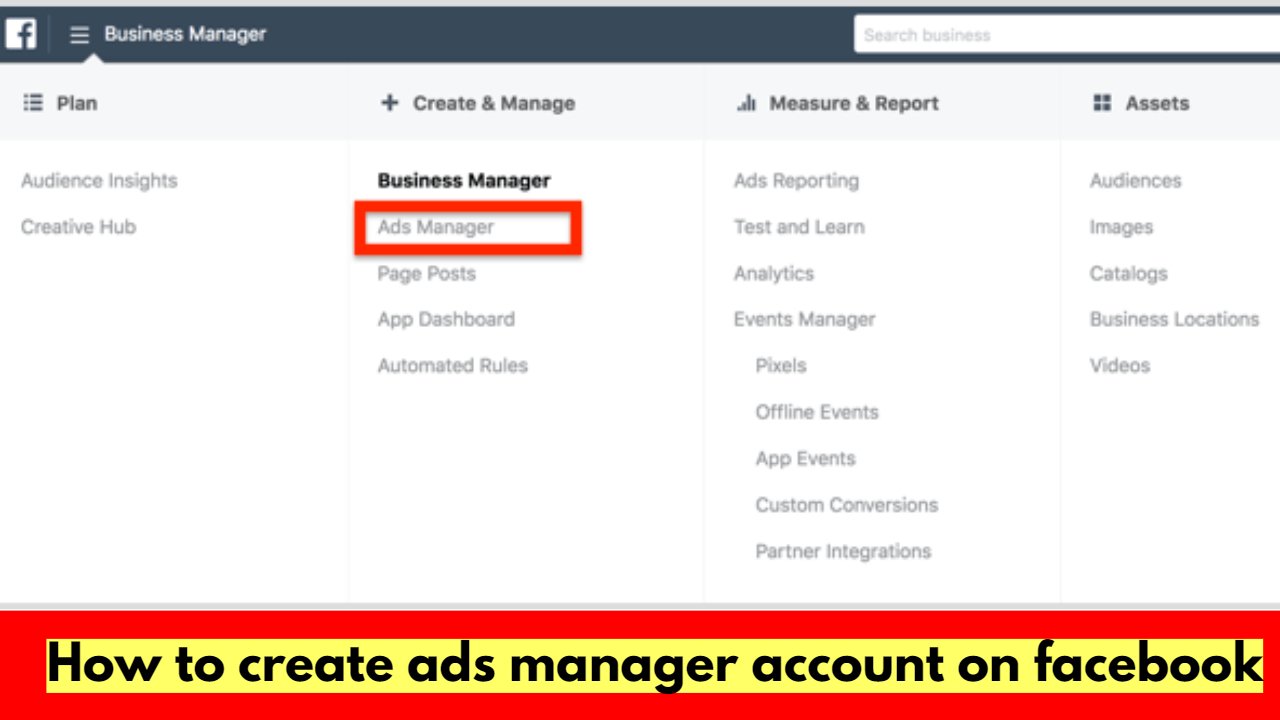
How to Create a Facebook Ads Manager Account
In this guide, we will walk you through the process of creating a Facebook Ads Manager account. Facebook Ads Manager is a powerful tool that allows you to manage and run advertising campaigns on the Facebook platform, as well as on Instagram. Follow these simple steps to set up your Ads Manager account and start reaching your target audience effectively.

Step 1: Log in to Your Facebook Account
To get started, you need to have a personal Facebook account. If you don’t have one, go to www.facebook.com and sign up for a free account. If you already have an account, log in using your email/phone and password.
Step 2: Navigate to Facebook Business Suite
Once you’re logged in, go to the Facebook Business Suite by clicking on the “Business Suite” option in the menu. If you don’t see it immediately, you can find it by clicking on the arrow at the top-right corner of your Facebook homepage and selecting “Business Suite” from the drop-down menu.
Step 3: Access Business Settings
In the Business Suite, click on the gear icon in the top-right corner to access your Business Settings.
Step 4: Create a New Business Account (If Needed)
If you haven’t created a Business Account yet, you’ll be prompted to set one up. Click on “Create Account” and follow the on-screen instructions to create a new business account. If you already have a Business Account, skip to the next step.
Step 5: Navigate to Ads Manager
In the Business Settings, click on “Ad Accounts” in the left-hand sidebar. Then, click on the “+ Add” button to create a new Ads Manager account.
Step 6: Choose an Option
You’ll see two options: “Create a new ad account” and “Request access to an ad account.” If you’re setting up an Ads Manager account for your own business, select “Create a new ad account” and proceed to the next step.
Step 7: Configure Your Ad Account
Fill in the required details for your new ad account, such as the account name, time zone, and currency. Make sure to use accurate information as these settings cannot be changed later.
Step 8: Add Payment Method (If Applicable)
If you plan to run paid advertising, you’ll need to add a payment method to your ad account. Click on “Add Payment Method” and enter your billing information. Facebook accepts various payment methods, including credit/debit cards and PayPal.
Step 9: Accept Facebook’s Advertising Policies
Before you can start using your Ads Manager account, you need to accept Facebook’s advertising policies. Review the policies, and if you agree, click “Accept” to proceed.
Step 10: Verify Your Account (If Required)
In some cases, Facebook may require account verification to ensure security and prevent fraudulent activities. If prompted, follow the instructions to verify your account.
Step 11: Access Your Ads Manager Account
Congratulations! You have successfully created your Facebook Ads Manager account. You can now access it by going back to the Facebook Business Suite and clicking on “Ad Accounts” in the left-hand sidebar.
Also Read
- Facebook Business Manager
- Microsoft Security Essentials Windows 7
- How to Connect Instagram to Facebook Ads Manager
- STR NEWS
Conclusion
Setting up a Facebook Ads Manager account is the first step towards running successful advertising campaigns on Facebook and Instagram. By following this step-by-step guide, you now have the foundation to start reaching your target audience, promoting your products or services, and achieving your business objectives.
So, don’t wait any longer. Create your Ads Manager account today and unlock the full potential of social media advertising for your business!


Fatima Dalton
Alejandra Cochran
Jenna Haley
Wesley Sharp
Hyatt Nizami
Nichalas Silivas